

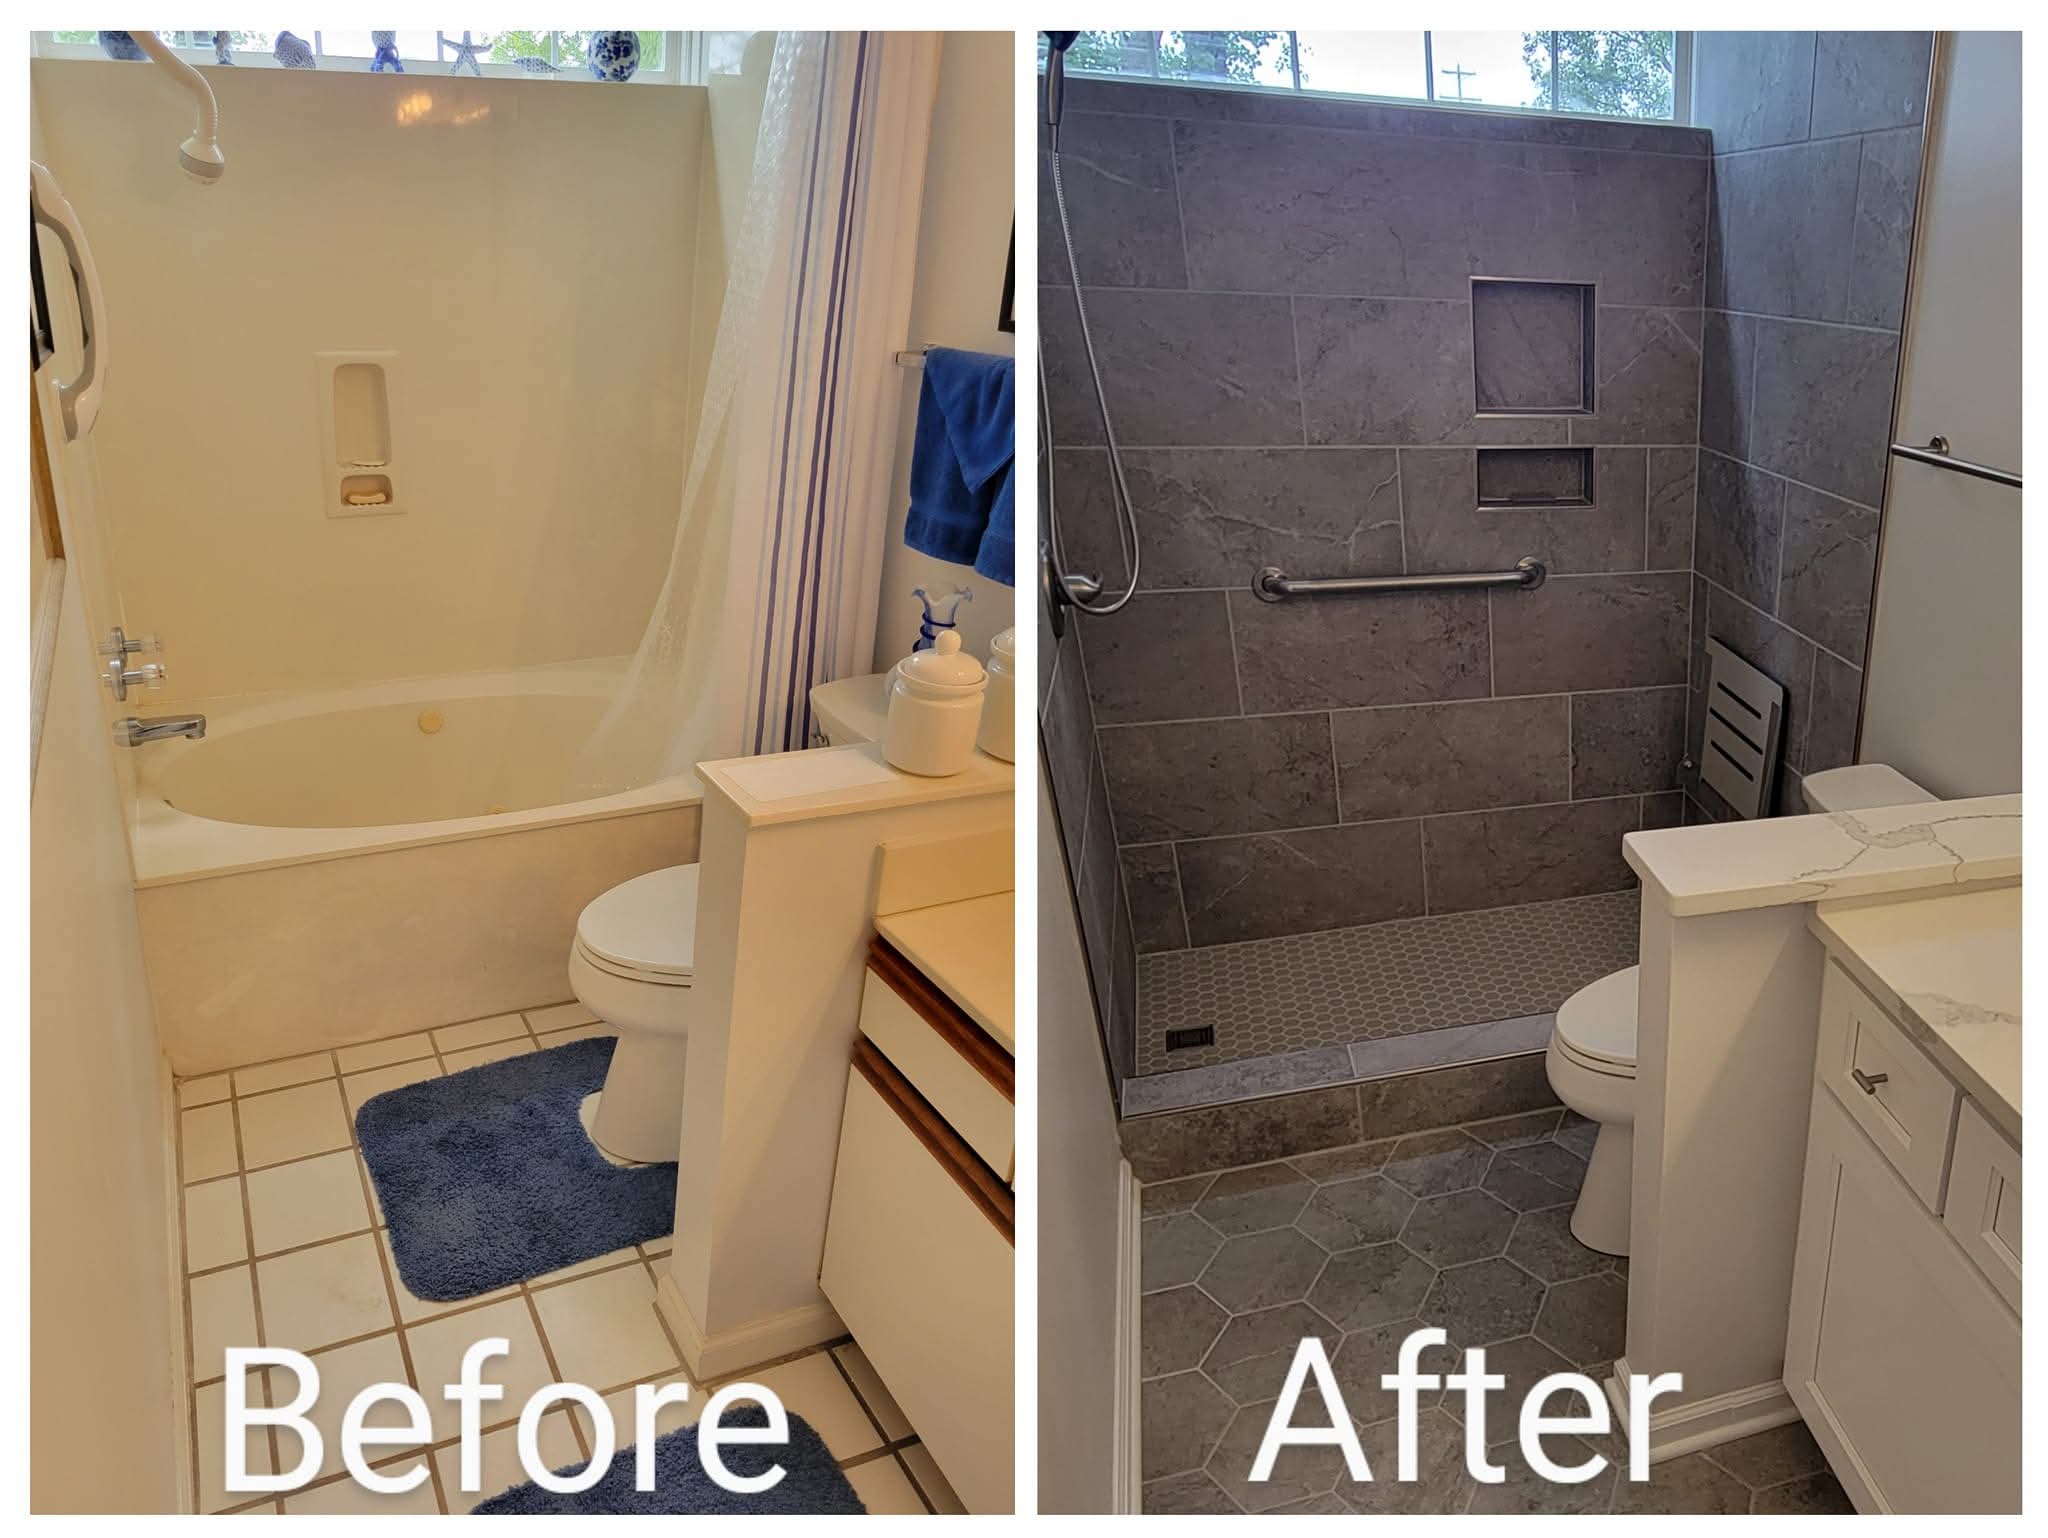
You only want to tear your bathroom apart once. The fastest way to blow a budget or add weeks to a project is to do things out of order—installing finishes before rough work is done, or buying fixtures that don’t fit existing plumbing. A clear sequence keeps dust, delays, and surprises to a minimum, whether you’re in a mid-century ranch or a newer home in Oro Valley.
Below is the order we recommend, and why it matters in a desert climate where concrete slabs, hard water, and monsoon moisture all play a role.
Step 1: Plan, Measure, and Protect the Rest of Your Home
Before a single tile comes off the wall, get the design locked in. That means deciding on layout changes, storage needs, and whether you’re going with a tub, walk-in shower, or both. A well-thought-out plan is what turns disconnected ideas into complete bathroom remodeling services that flow together.
During this stage:
- Confirm measurements for vanity, shower, and toilet clearances.
- Decide which walls, if any, will move.
- Check your electrical panel capacity for added lighting or outlets.
Because most homes in Southern Arizona sit on concrete slabs, moving drains or shower locations is more involved than in houses with crawlspaces. Sorting that now avoids expensive jackhammer work after finishes are installed.
This is also when you protect the rest of the home from dust. Cover nearby floors, tape off doorways, and think about how workers will access the bathroom without tracking in grit from dust storms or demolition debris.
Step 2: Demolition and Rough-In Work (Plumbing, Electrical, Framing)
Once the plan is set, demolition comes next. Remove old fixtures, vanity, shower or tub, flooring, and any damaged drywall. In older bathrooms around Casas Adobes, this is often when hidden issues show up—rotted subfloor near the shower, outdated wiring, or plumbing that doesn’t meet current code.
With everything open, your contractor tackles:
- Plumbing rough-in for relocated fixtures, new shower valves, and upgraded supply lines.
- Electrical rough-in for new lighting, GFCI outlets, and ventilation fans.
- Any framing adjustments for niches, benches, or wider doorways.
If you’re planning a barrier-free or low-threshold shower for aging-in-place, this is when slopes and blocking for grab bars are built in. The rough-in stage sets the bones for features you’ll see later on in a custom shower remodel, like recessed niches and comfortable bench heights.
Only after inspections (where required) should you close the walls. Skipping this step or rushing it can mean tearing back into brand-new finishes to correct leaks or wiring problems.
Step 3: Surfaces First: Shower, Walls, and Flooring
With rough work approved, it’s time for waterproofing and hard surfaces. The sequence here matters:
- Waterproof and tile the shower or install a shower system.
- Finish wall repairs and prep surfaces.
- Lay flooring.
- Paint.
Showers go first because they require waterproofing membranes, careful slope to the drain, and multiple days for tile, grout, and caulk to cure—especially important in our low-humidity climate, where materials can dry unevenly if rushed.
Tile is a favorite in Southern Arizona because it stays cool underfoot and handles both heat and humidity swings. When you’re choosing tile styles and patterns, think not just about looks but also about slip resistance and grout lines that can stand up to hard water and mineral buildup.
After the shower is complete and walls are ready, flooring goes down. Many homeowners pair tile showers with waterproof plank flooring in the rest of the bath; browsing luxury vinyl plank options can be useful if you want warmth underfoot without sacrificing moisture resistance. Once floors are protected, painting comes next so any drips land on surfaces that will later be covered by trim and fixtures.
Step 4: Vanity, Countertops, Fixtures, and Final Touches
Only after surfaces are in place should you bring in the vanity, countertops, and fixtures. This protects your investment from demo dust and tile tools, and it ensures accurate scribing against finished walls and floors.
This stage typically includes:
- Setting the vanity and connecting plumbing.
- Installing quartz, granite, and porcelain countertops that can handle hard water and daily use.
- Hanging mirrors, medicine cabinets, and lighting.
- Setting the toilet and connecting the shower trim and faucets.
Cabinetry is one area where sequence and design really intersect. If you’re upgrading storage, soft-close kitchen and bathroom cabinetry that’s sized correctly for your space will make daily routines smoother and reduce clutter on the counter.
Final touches—caulking, hardware, towel bars, and accessories—come last. At this point, a thorough clean, punch list, and walkthrough ensure everything functions properly and seals are tight before you call the project complete.
A well-sequenced remodel doesn’t just finish faster; it feels calmer and more predictable from day one. If you’re ready to map out your own project in Tucson or nearby communities, our team can help you prioritize steps, choose materials that fit desert living, and coordinate licensed installers from start to finish. When you’re ready, you can request a free estimate and start planning your bathroom the right way.


